“`html
Basics of Astrophotography
Astrophotography is a fascinating and challenging art form, allowing us to capture the beauty of the night sky from Earth. From beginner to pro, understanding the essentials of equipment and settings is key to capturing mesmerizing celestial images. This blog post explores the basics of astrophotography, from choosing the right camera and lenses to understanding important settings like ISO, shutter speed, and aperture. Learn the significance of additional gear such as tripods, remote shutters, and intervalometers. Discover tips on shooting locations and focusing techniques, along with the impact of foregrounds and reflections. Embrace the night skies with confidence by understanding astrophotography settings and planning methods. Stay informed for future astrophotography endeavors by subscribing to resources like the Space.com newsletter. This comprehensive guide is perfect for anyone eager to start their journey under the stars.
Astrophotography for Beginners 2024
Camera Bodies and Lenses
Selecting the right camera and lens combination is crucial for astrophotography. A camera body with excellent low-light performance is ideal; full-frame DSLRs or mirrorless cameras are often recommended. Their larger sensors capture more light, improve image quality, and reduce noise — a critical factor in shooting the night sky.
As for lenses, investing in a wide-angle lens with a large aperture (f/2.8 or wider) will provide bright, sharp images and an expansive view of the sky. Wide-angle lenses allow for capturing sweeping vistas of the Milky Way or grand starriest skies with stunning clarity. Prime lenses are often preferred for their speed and clarity.
Additional Equipment for Astro
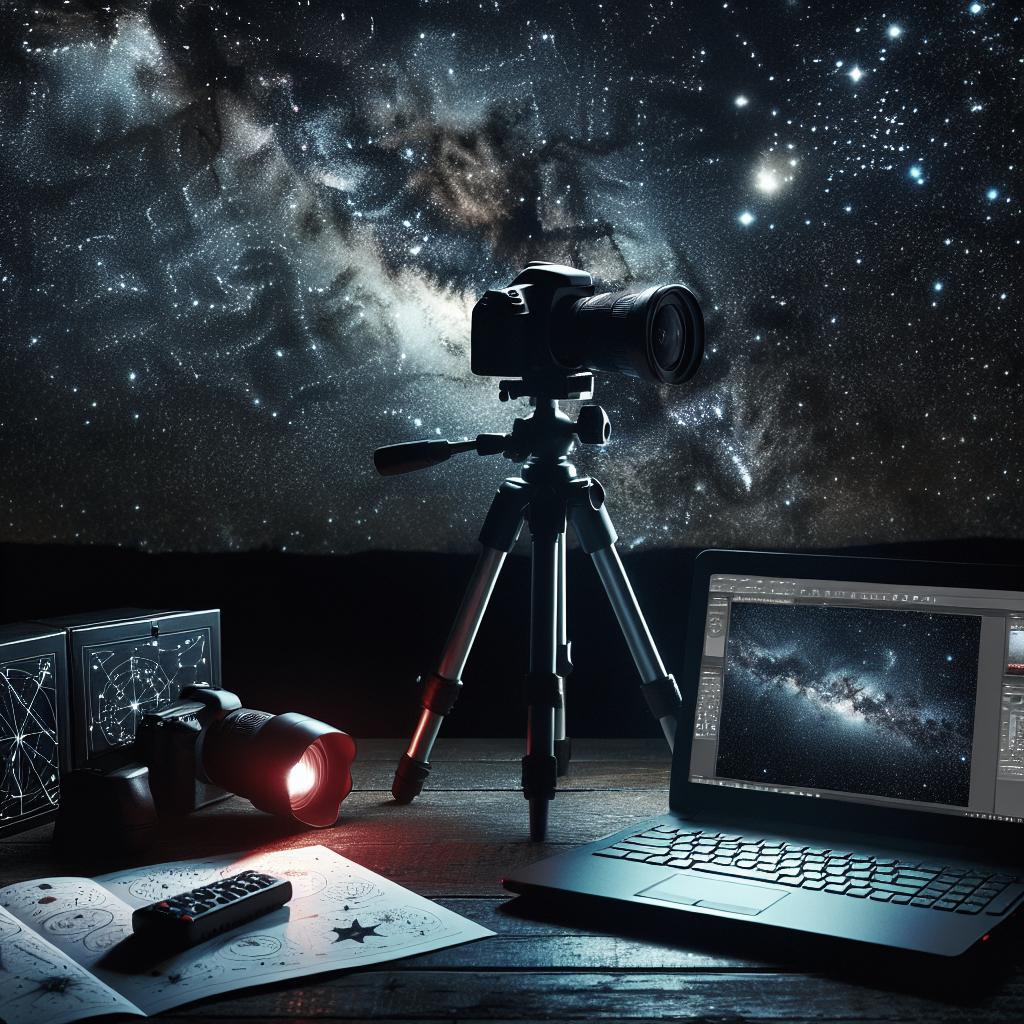
Beyond your camera and lens, other equipment enhances your astrophotography experience. A sturdy tripod ensures your camera remains stable during long exposures. Lightweight carbon fiber tripods provide both portability and durability, essential for the varied terrains astrophotographers might encounter.
Additional gear to consider includes a remote shutter release, which allows you to take photos without touching the camera, thereby minimizing shakes. An intervalometer can also be beneficial for time-lapse sequences or automatic exposure control during lengthy sessions.
Tripod (Essential)
A tripod is perhaps the most essential accessory for astrophotography. Stability is critical when dealing with long exposure shots required to capture the faintest stars and celestial bodies. Without a stable platform, images can suffer from movement blur, rendering them unusable.
When choosing a tripod, consider the material, weight, and load capacity. A model that achieves a good balance between lightweight and sturdy construction is favorable. Look for one that has adjustable legs and a good ball head design to allow flexibility when positioning your camera at different angles.
Remote Shutter Release (Recommended)
Using a remote shutter release is a highly recommended practice in astrophotography. It allows photographers to engage the camera’s shutter without physically touching the camera, reducing the risk of introducing vibrations that could blur an image during long exposures.
There are various types of remote shutters available, from wired to wireless models. Wireless models provide the added convenience of triggering the camera from a distance, which can be particularly useful in cold conditions where you might not want to stay directly beside the camera for prolonged periods.
Intervalometer (Optional)
While an intervalometer is not necessary for basic astrophotography, it opens up opportunities for creating time-lapse sequences or executing long exposure controls. These devices allow you to set a series of timed shots, which is ideal for detailed astrophotography projects such as capturing star trails.
Some cameras come with built-in intervalometers; however, for those that do not, external options are available. Using an intervalometer reduces the need to manually intervene during shots, which can be particularly helpful during cold nights or when you plan extensive photographing sessions.
Headlamp
Good lighting is key when setting up your gear in the dark, and a headlamp fits the bill perfectly. It enables hands-free operation, giving you marked flexibility when handling cameras and accessories at night. Headlamps with red light settings are preferred since they diminish light pollution and preserve your night vision.
Planning Your Astro Shoot
Planning is fundamental for successful astrophotography. Familiarize yourself with astronomical events, such as meteor showers or lunar eclipses, using apps or online resources. Make sure you understand weather patterns, as clear skies are essential for capturing excellent shots of the stars.
Location
The location you choose can greatly affect the quality of your astrophotography results. Opt for places with minimal light pollution such as national parks or dedicated dark sky areas. These areas offer unobstructed views of celestial objects and eliminate the risk of interference from artificial light sources.
Consider the accessibility and safety of your chosen site. Some locations may require permits or special permissions for nighttime access, so plan your trip with these factors in mind. Research if your chosen site has favorable geographic features, like an open horizon or elevated ground, which can enhance your sky views.
Subject
Selecting an astrophotography subject can range from simple starfields to complex astronomical phenomena. Starting with the Milky Way or constellations can be an enriching experience for beginners thanks to their accessibility and the stunning visuals they offer.
Astrophotography Settings for Your Camera
Camera settings such as ISO sensitivity, aperture, and shutter speed play a crucial role in astrophotography. Balancing these elements allows for correct exposure and detail in your astrophotographs. Understand how to adjust these settings to get the best results for varying night-time conditions.
Camera Shooting Mode
Manual mode is recommended for astrophotography as it grants you complete control over your camera settings. Understanding and adjusting these settings based on the shooting conditions ensures optimal results since automated modes may struggle with low-light conditions typical of astrophotography.
Experiment with different configurations to understand how changes in settings affect your images. Manual experimentation is a part of mastering astrophotography, often leading to unique captures that automated modes may overlook.
Aperture
The aperture affects the amount of light hitting the camera’s sensor. Wide apertures (small f-stop numbers) allow more light, essential in low-light conditions like nighttime photography. Most astrophotography is performed at the lens’s widest aperture to let in maximum light, ensuring better exposure.
However, be aware of focusing challenges that come with wide apertures. Depth of field becomes shallow, making perfect focus crucial. Regularly assess your shots to ensure that you maintain sharp focus on those starry skies.
Image File Type
Shooting in RAW format is advisable for astrophotography, as it retains the most image detail and allows for greater flexibility in post-processing. RAW files are uncompressed and store full color spectrum data, providing a higher quality image to work with.
While RAW files consume more storage space, the benefits in post-processing, especially for color correction and exposure adjustments, make it worthwhile. Ensure you have ample storage capacity for your camera and backup storage for your files.
Shutter Speed
Shutter speed plays an essential role in capturing the right amount of light in an astrophotography shot. Typically, longer exposure times are used to collect as much light as possible, revealing faint stars invisible to the naked eye.
However, movement of stars across the sky limits exposure time due to Earth’s rotation. To counteract this, the “500 Rule” can be used as a guideline — divide 500 by your lens’s focal length to estimate the longest exposure possible without noticeable star trails.
ISO Sensitivity
ISO sensitivity determines how sensitive your camera sensor is to light. Higher ISO values increase sensitivity, essential for capturing bright astrophotography shots. However, elevated ISO levels can introduce noise, affecting image quality.
A balance is necessary; start with a moderate ISO setting and gradually increase until you discover an appropriate balance that reveals star details without excessive noise. Modern cameras often include noise reduction features, which are worth exploring.
Focusing in the Dark
Achieving focus in low-light conditions can be challenging. Manual focus is generally preferred in astrophotography for greater control over the final image. Autofocus may struggle or fail due to insufficient light.
Tips and Advice
One technique for focusing is to utilize your camera’s Live View feature, zooming in on a bright star to manually adjust focus until it appears as sharp as possible. Additionally, using focus scales on your lens or marking the focus point with tape can be helpful during sessions.
Foreground
Including foreground elements in your astrophotography can add depth and context to your shots. Interesting natural features like mountains, trees, or even man-made structures can transform a celestial scene into a comprehensive visual story.
The contrast between the Earth’s features and the expansive sky often results in captivating compositions. Experiment with different perspectives and framing to take advantage of these opportunities in your photography.
Reflections
Reflective surfaces can enhance the composition of an astrophotography shot by adding symmetry and depth. Bodies of water like lakes or ponds serve as natural mirrors, doubling the visual interest and creating unique artistic outcomes.
Plan your shoot to coincide with calm weather conditions for the most effective reflections. Experiment with slightly elevated positions to explore how angles influence the final composition.
White Balance
White balance determines the color tone of your photos. Setting a custom white balance tailored to the specific lighting conditions of your scene is beneficial for astrophotography. It ensures that colors appear natural and enhance the brilliance of celestial bodies.
Although the Auto setting may suffice, using a Kelvin temperature appropriate for night settings often yields better results. Some post-processing may further adjust these settings, achieving the desired color fidelity for your masterpiece in the sky.
Get the Space.com Newsletter
Staying informed is vital to success in astrophotography. Websites like Space.com offer informative newsletters packed with the latest in astronomy and astrophotography trends, tips, and tutorials. Subscribing is an excellent way to learn more about upcoming celestial events and advances in astrophotography techniques.
With a wealth of resources at their disposal, photographers can keep their skills sharp and continually inspired by the universe’s wonders. Consider joining communities or forums to exchange ideas, share work, and receive constructive feedback from a global network of astrophotography enthusiasts.
Future Prospects
| Aspect | Details |
|---|---|
| Camera and Lenses | Select full-frame DSLRs or mirrorless for low-light performance; use wide-angle lenses with large apertures. |
| Essential and Additional Gear | Tripods, remote shutters, intervalometers, and headlamps improve image stability, timing, and setup convenience. |
| Location and Subjects | Opt for low-light pollution sites and choose initial subjects like the Milky Way; factor in planning tools. |
| Camera Settings | Use manual mode, adjust aperture, ISO, shutter speed, and select RAW file type for flexibility. |
| Focusing and Composition | Focus manually using live view, incorporate foregrounds and reflections for compositional depth. |
| Community Engagement | Subscribe to newsletters like Space.com for updates, engage in communities for ongoing learning. |
“`
